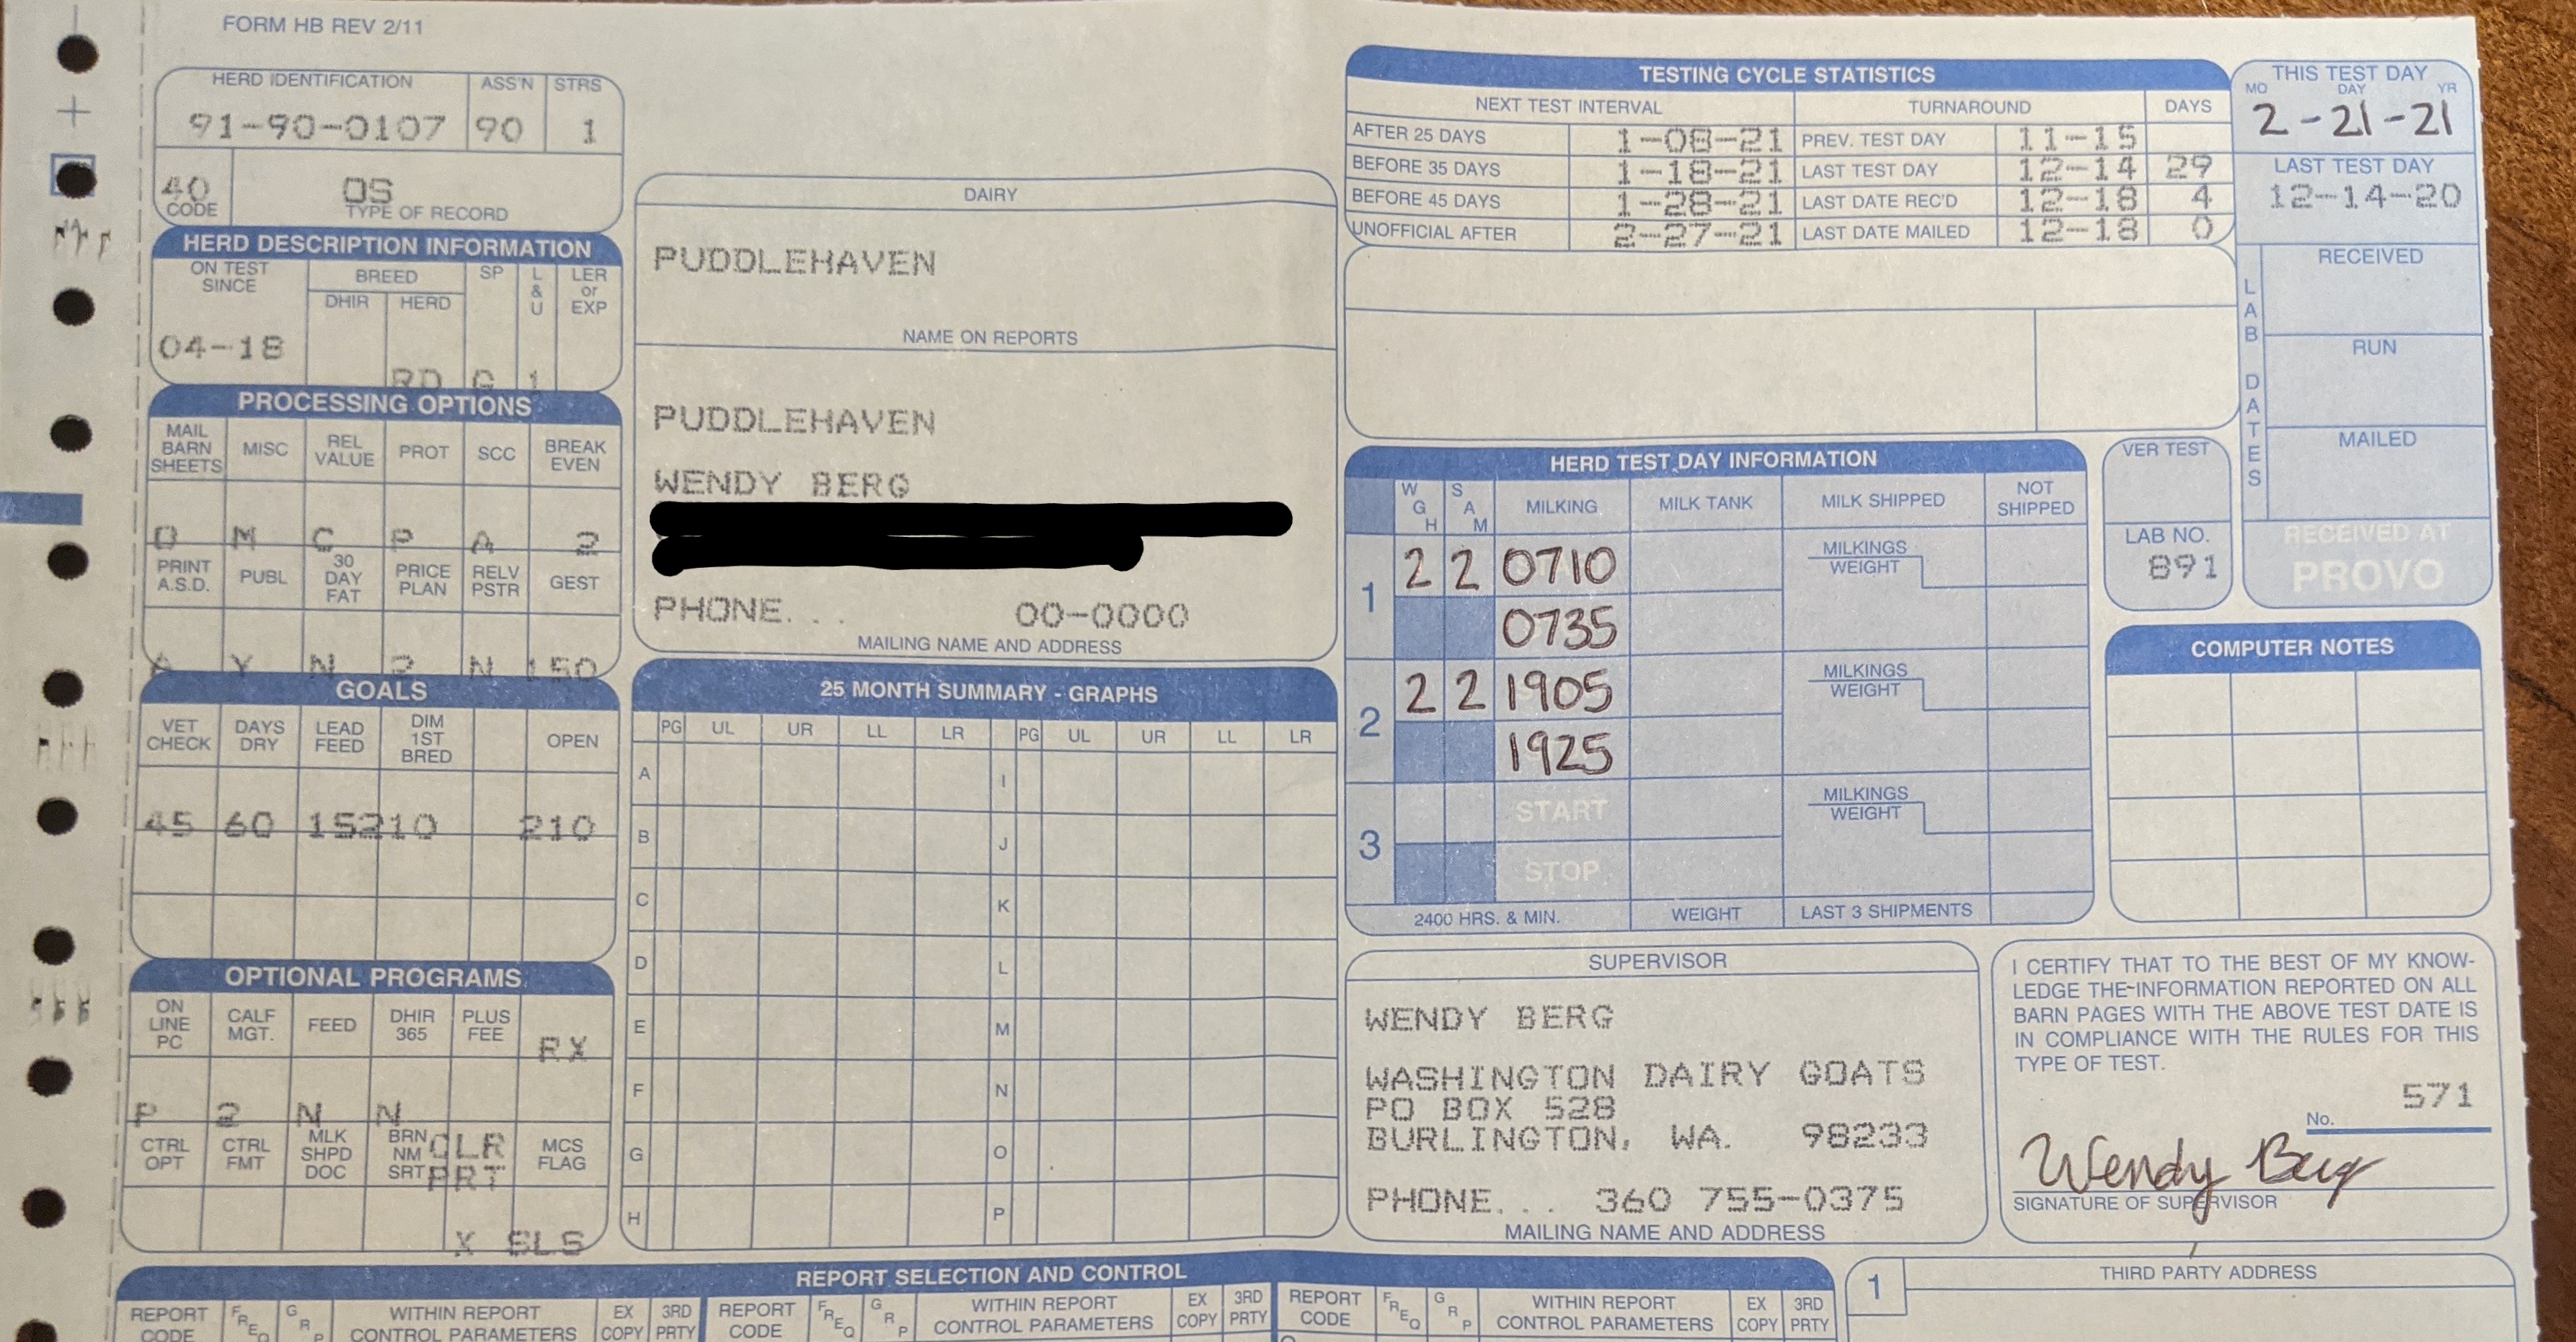
Milk Test Day
(Owner Sampler)

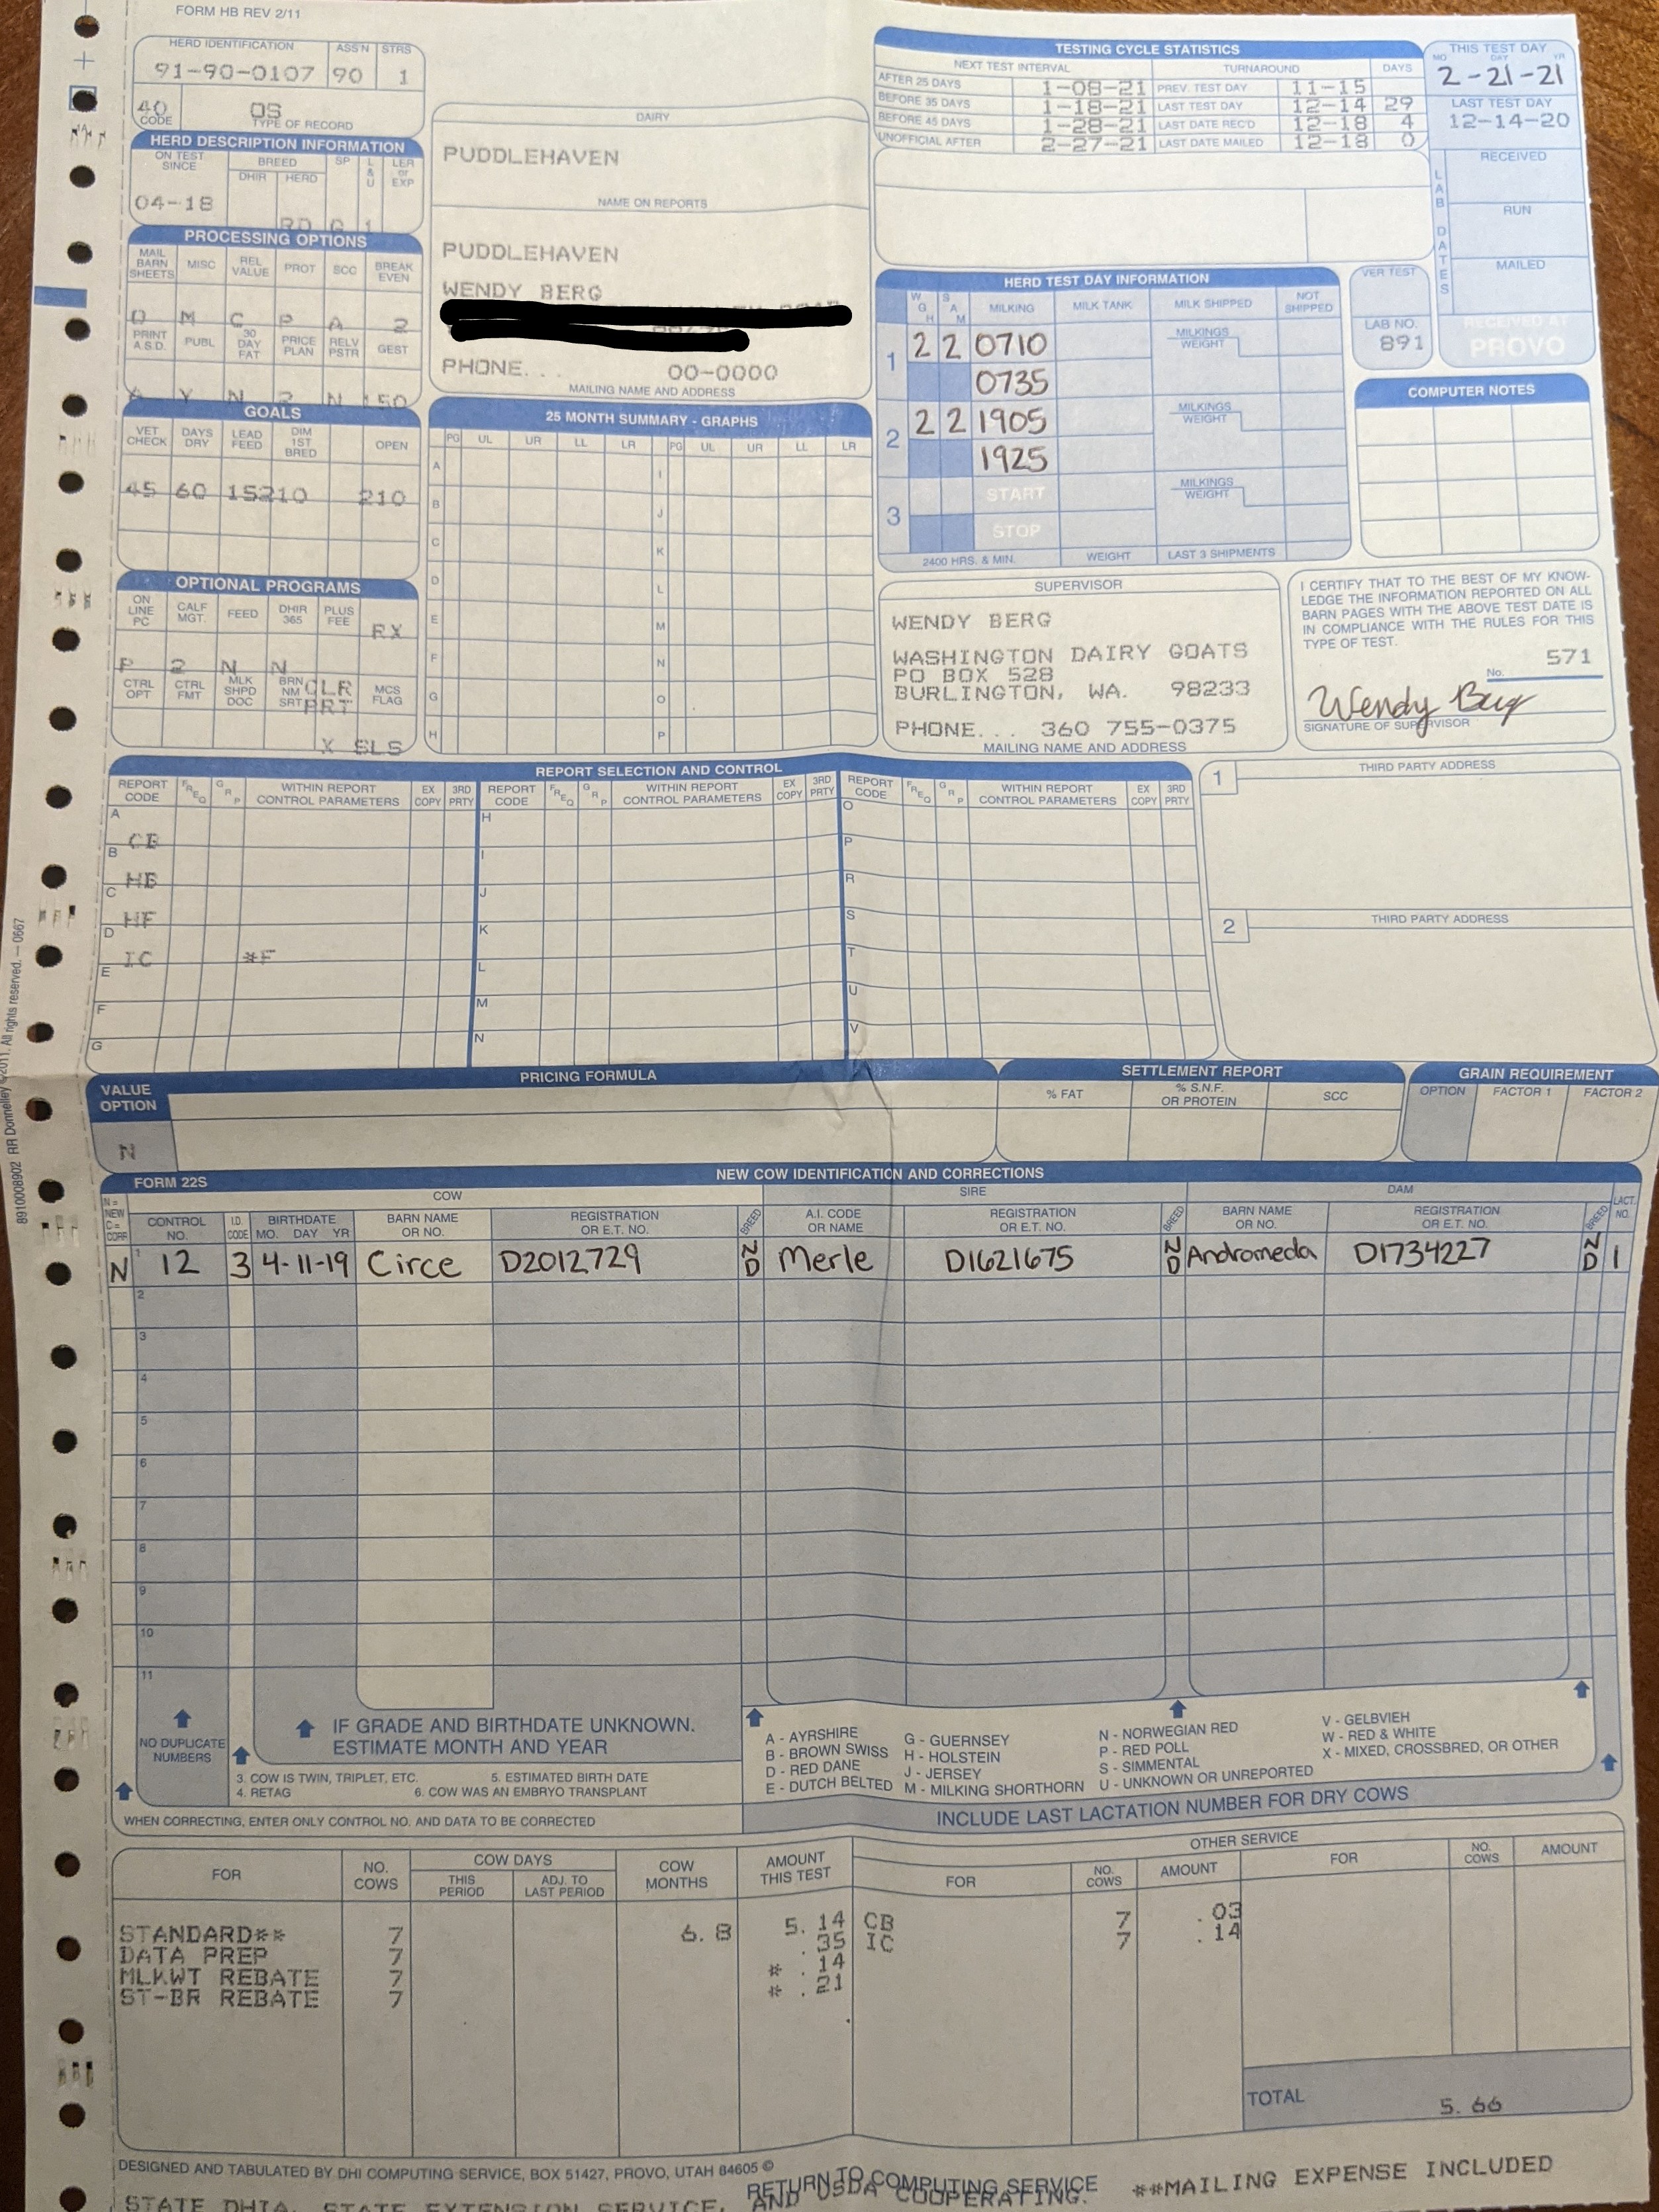
"WGH" is weighed and "SAM" is sampled. This will almost always be the number of does on test but it can change if a doe kicks over the milk bucket (nothing to weigh or sample) or if you accidentally dump a doe's milk into a communal jar before taking a sample. It happens!
Write down your start and stop times for each milking using military time. Don't forget the date (top right) and your signature!
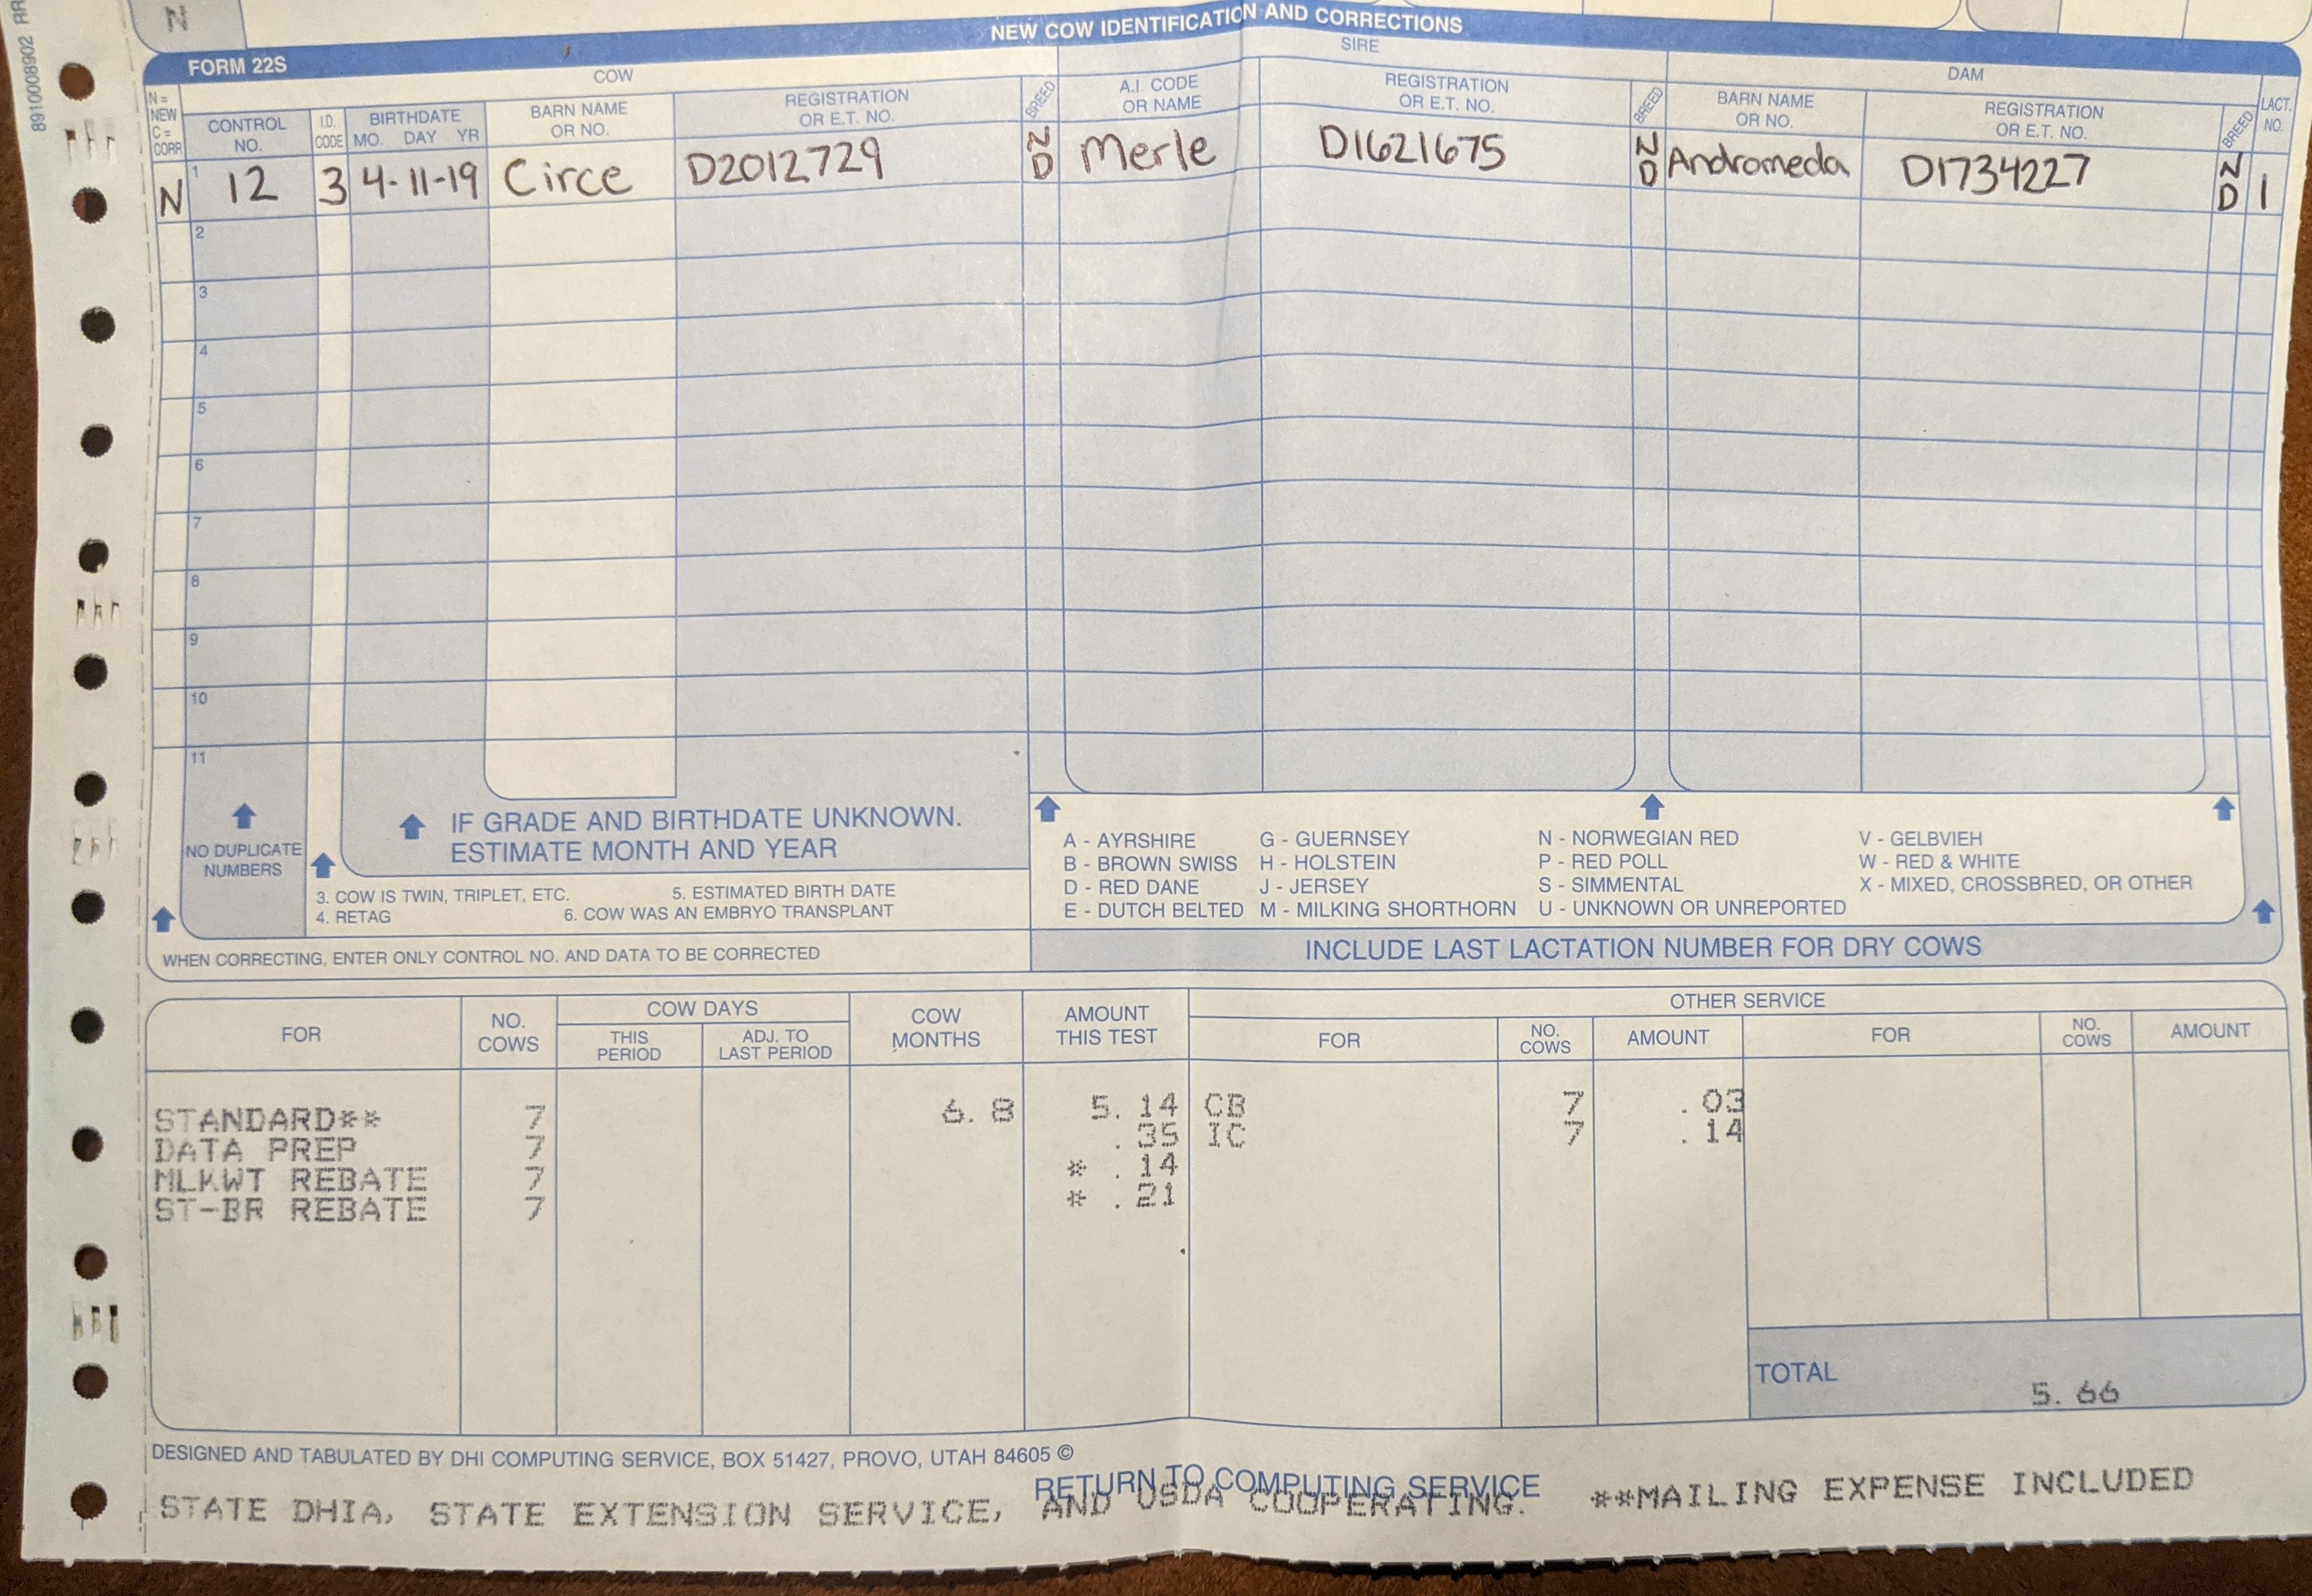
N/C: Write "N" in the first box if you are adding a new doe. Write "C" if you are correcting information of a doe that has already been on test.
Control No: Choose a number, any number! It just needs to be unique to that doe while she is in your herd.
Birthdate: The doe's date of birth.
Barn Name or No: What name do you want to see on this doe's milk test records?
Registration or E.T. No: The registration number assigned to this doe by her registry. UPDATE: Do NOT include the letters before the numbers.
Breed: This is an acronym. "ND" is Nigerian Dwarf. A full list of breed acronyms can be found on the CDCB website.
Sire: Name, registration number, and breed code of the doe's sire.
Dam: Name, registration number, and breed code of the doe's dam.
Lactation Number: How many times has this doe kidded? A first freshener would be on lactation number 1.
Processing Fees: The number in the bottom right is what Amelicor charges to process this herd's data. Add this to the lab fees when you send your DHIA a check or money order.
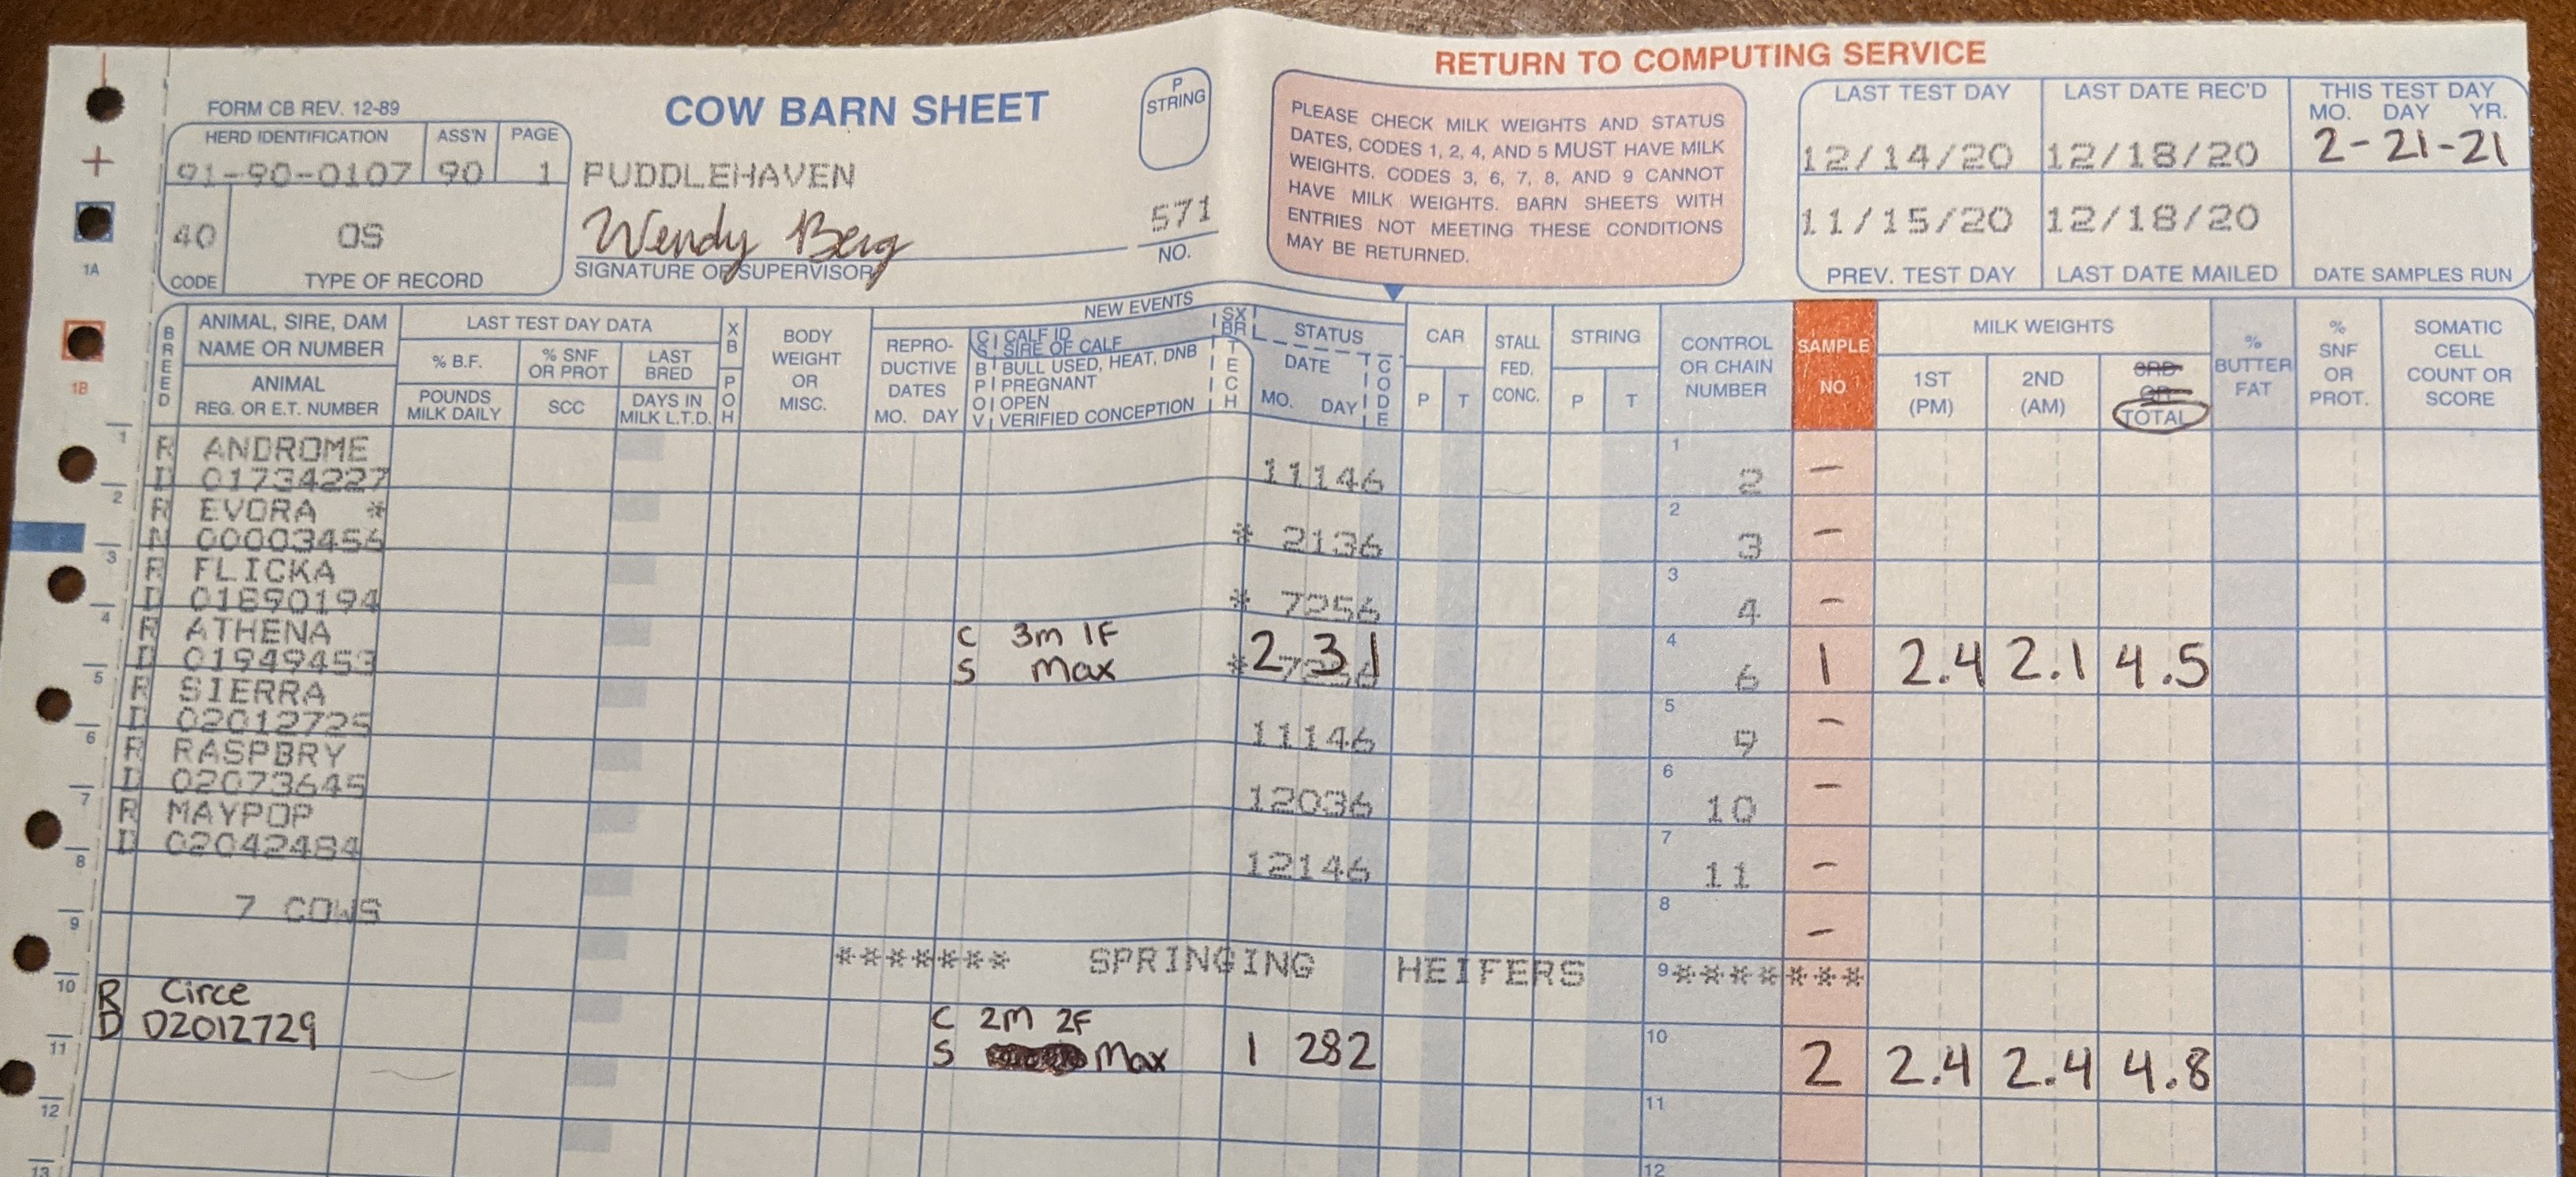
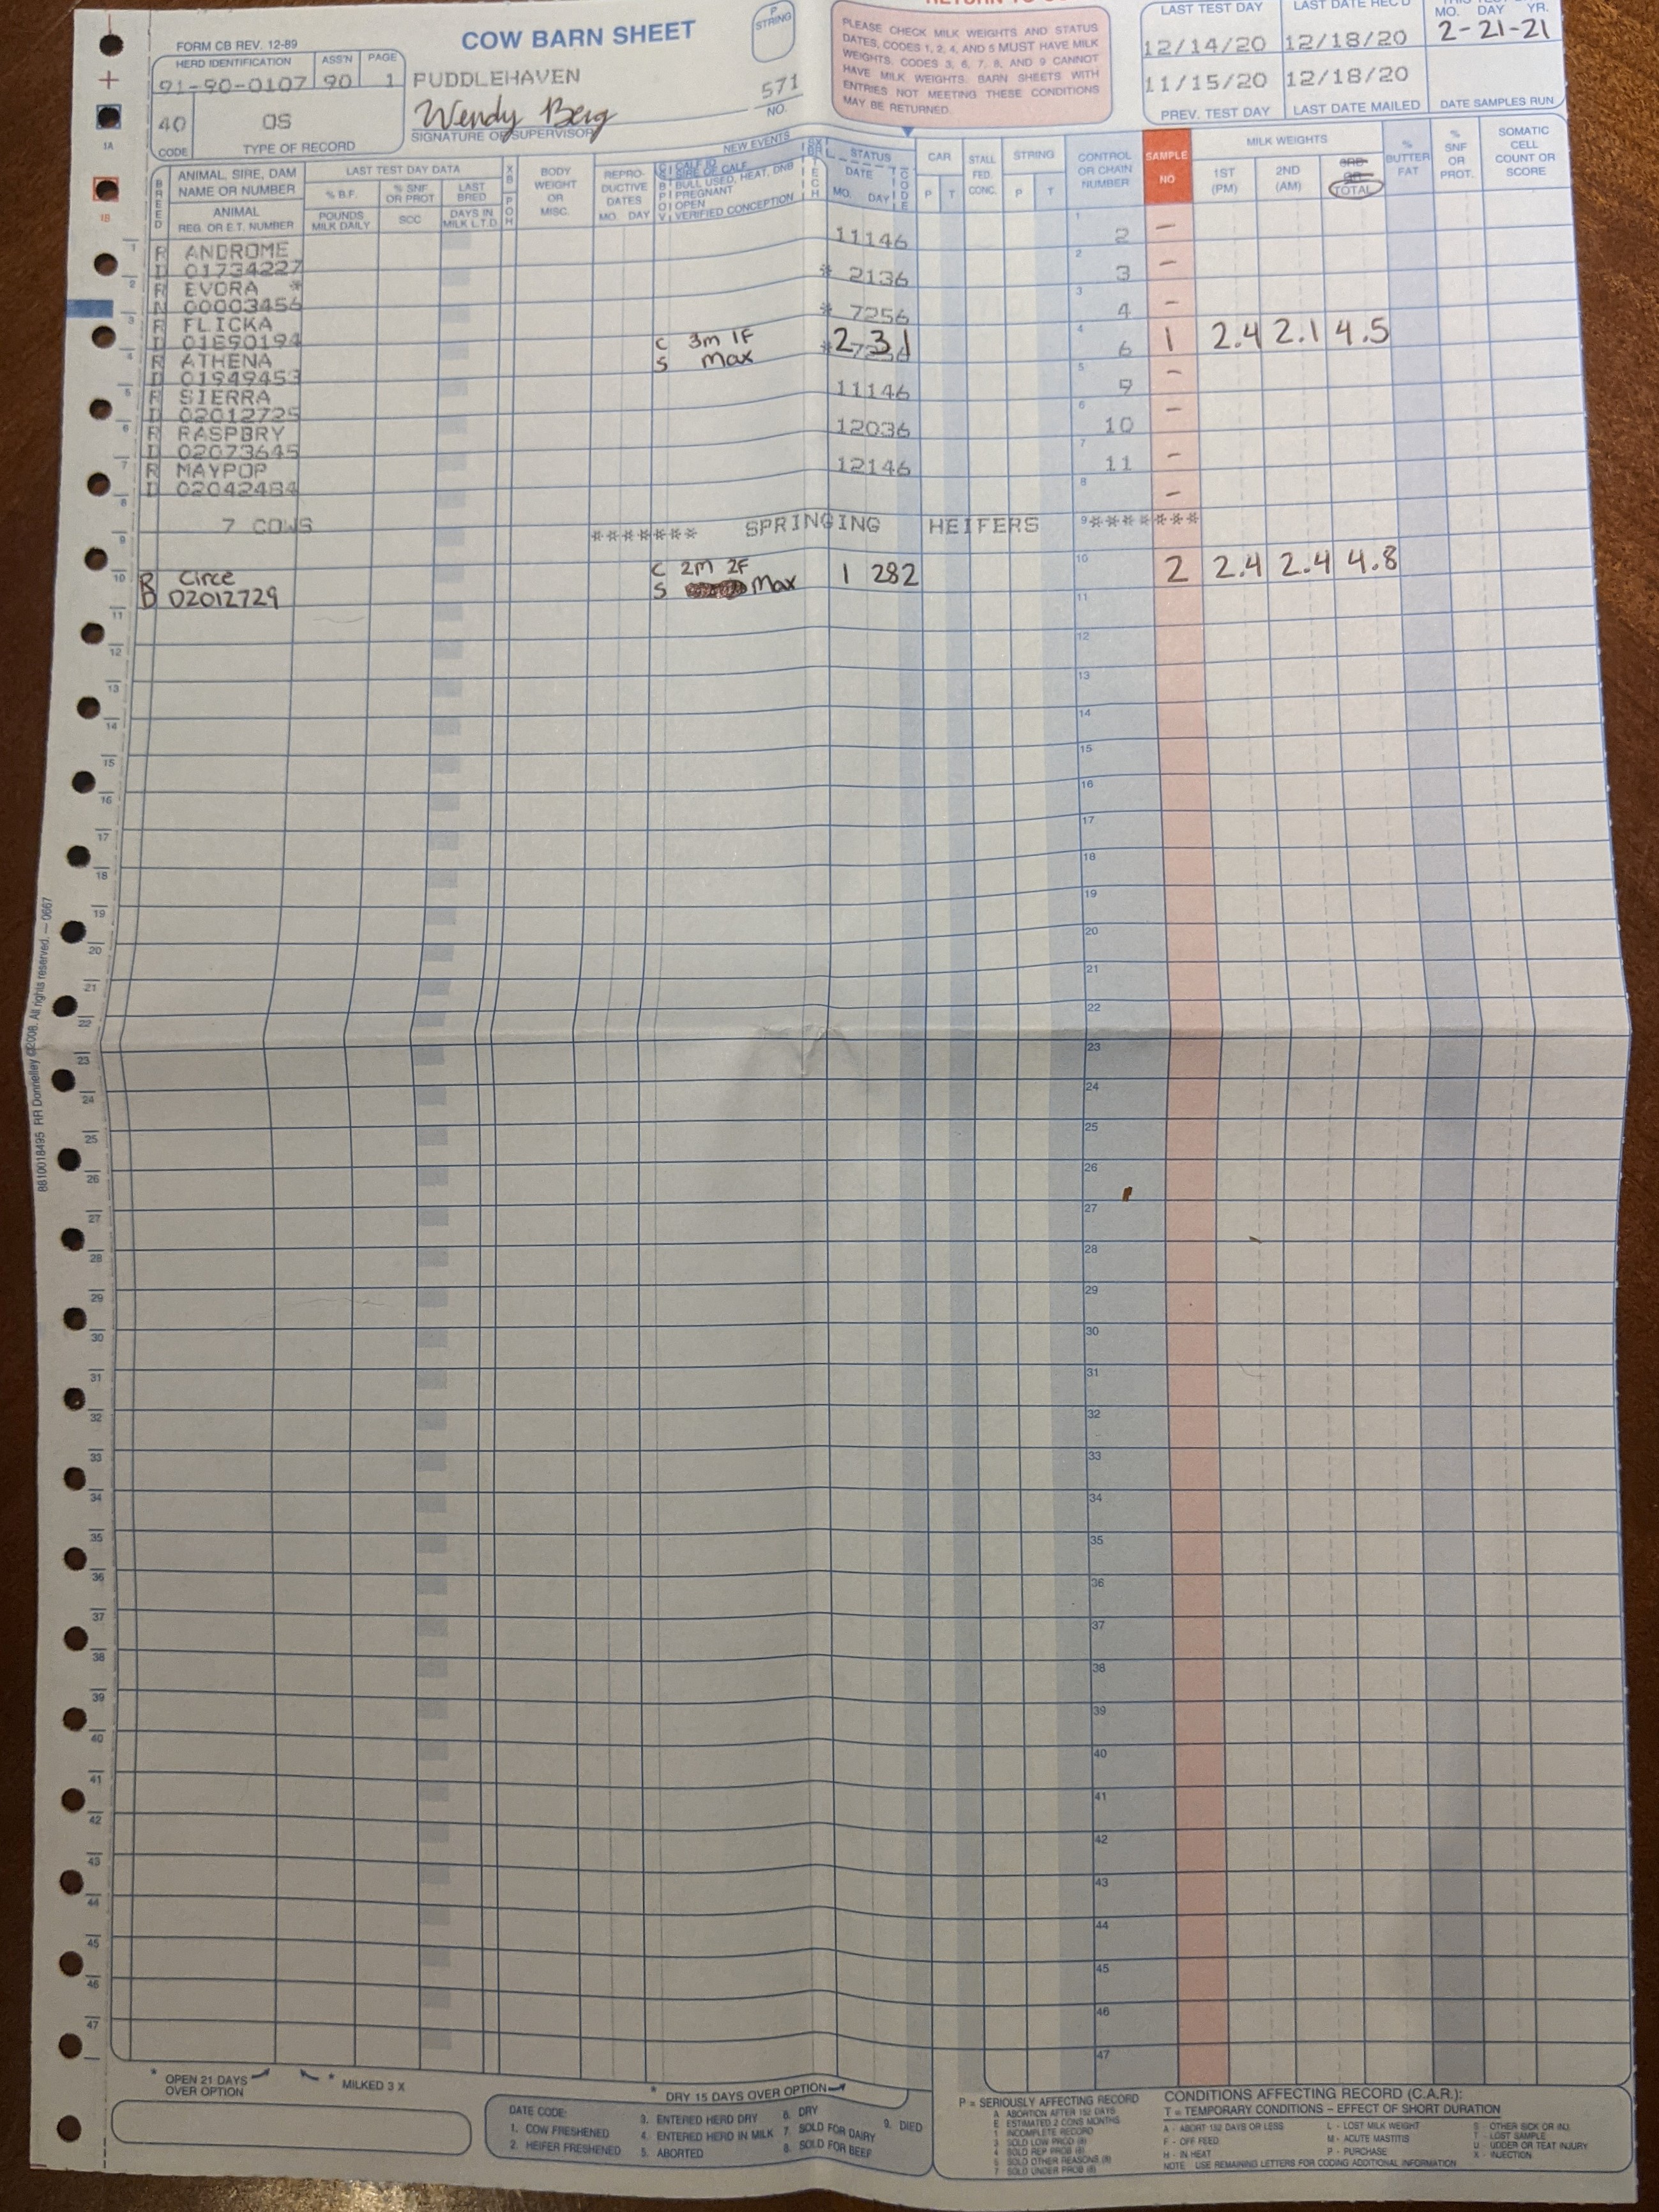
Breed: I don't know why, but instead of being "ND" for Nigerian Dwarf, here it is "RD" for Registered Dwarf.
Name/Number: Barn name and registration number
C: "Calf ID" - The number and sex of kids born
S: "Sire of Calf" - The sire's name
Date: The month and day a doe either kidded or was dried off. You can write on top of the previously printed dates.
Code: There is a list of codes at the bottom of the sheet. "1" is for kidding unless it's a first freshener. First fresheners ("heifers") get a code "2". Code "6" is for dry dates.
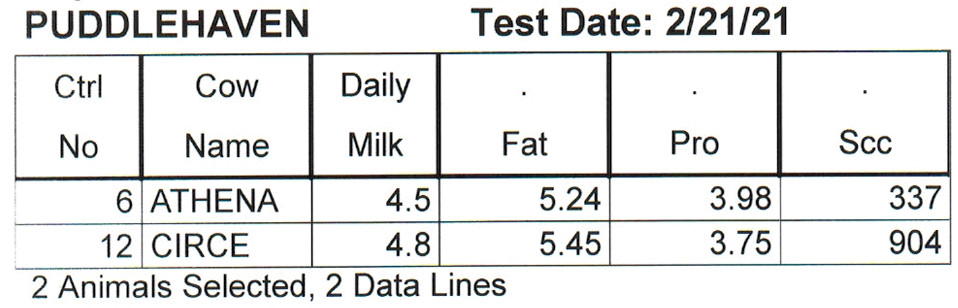
Control or Chain Number: This should match what you wrote on the previous sheet. Looks like I forgot to copy over Circe's number. Oops!
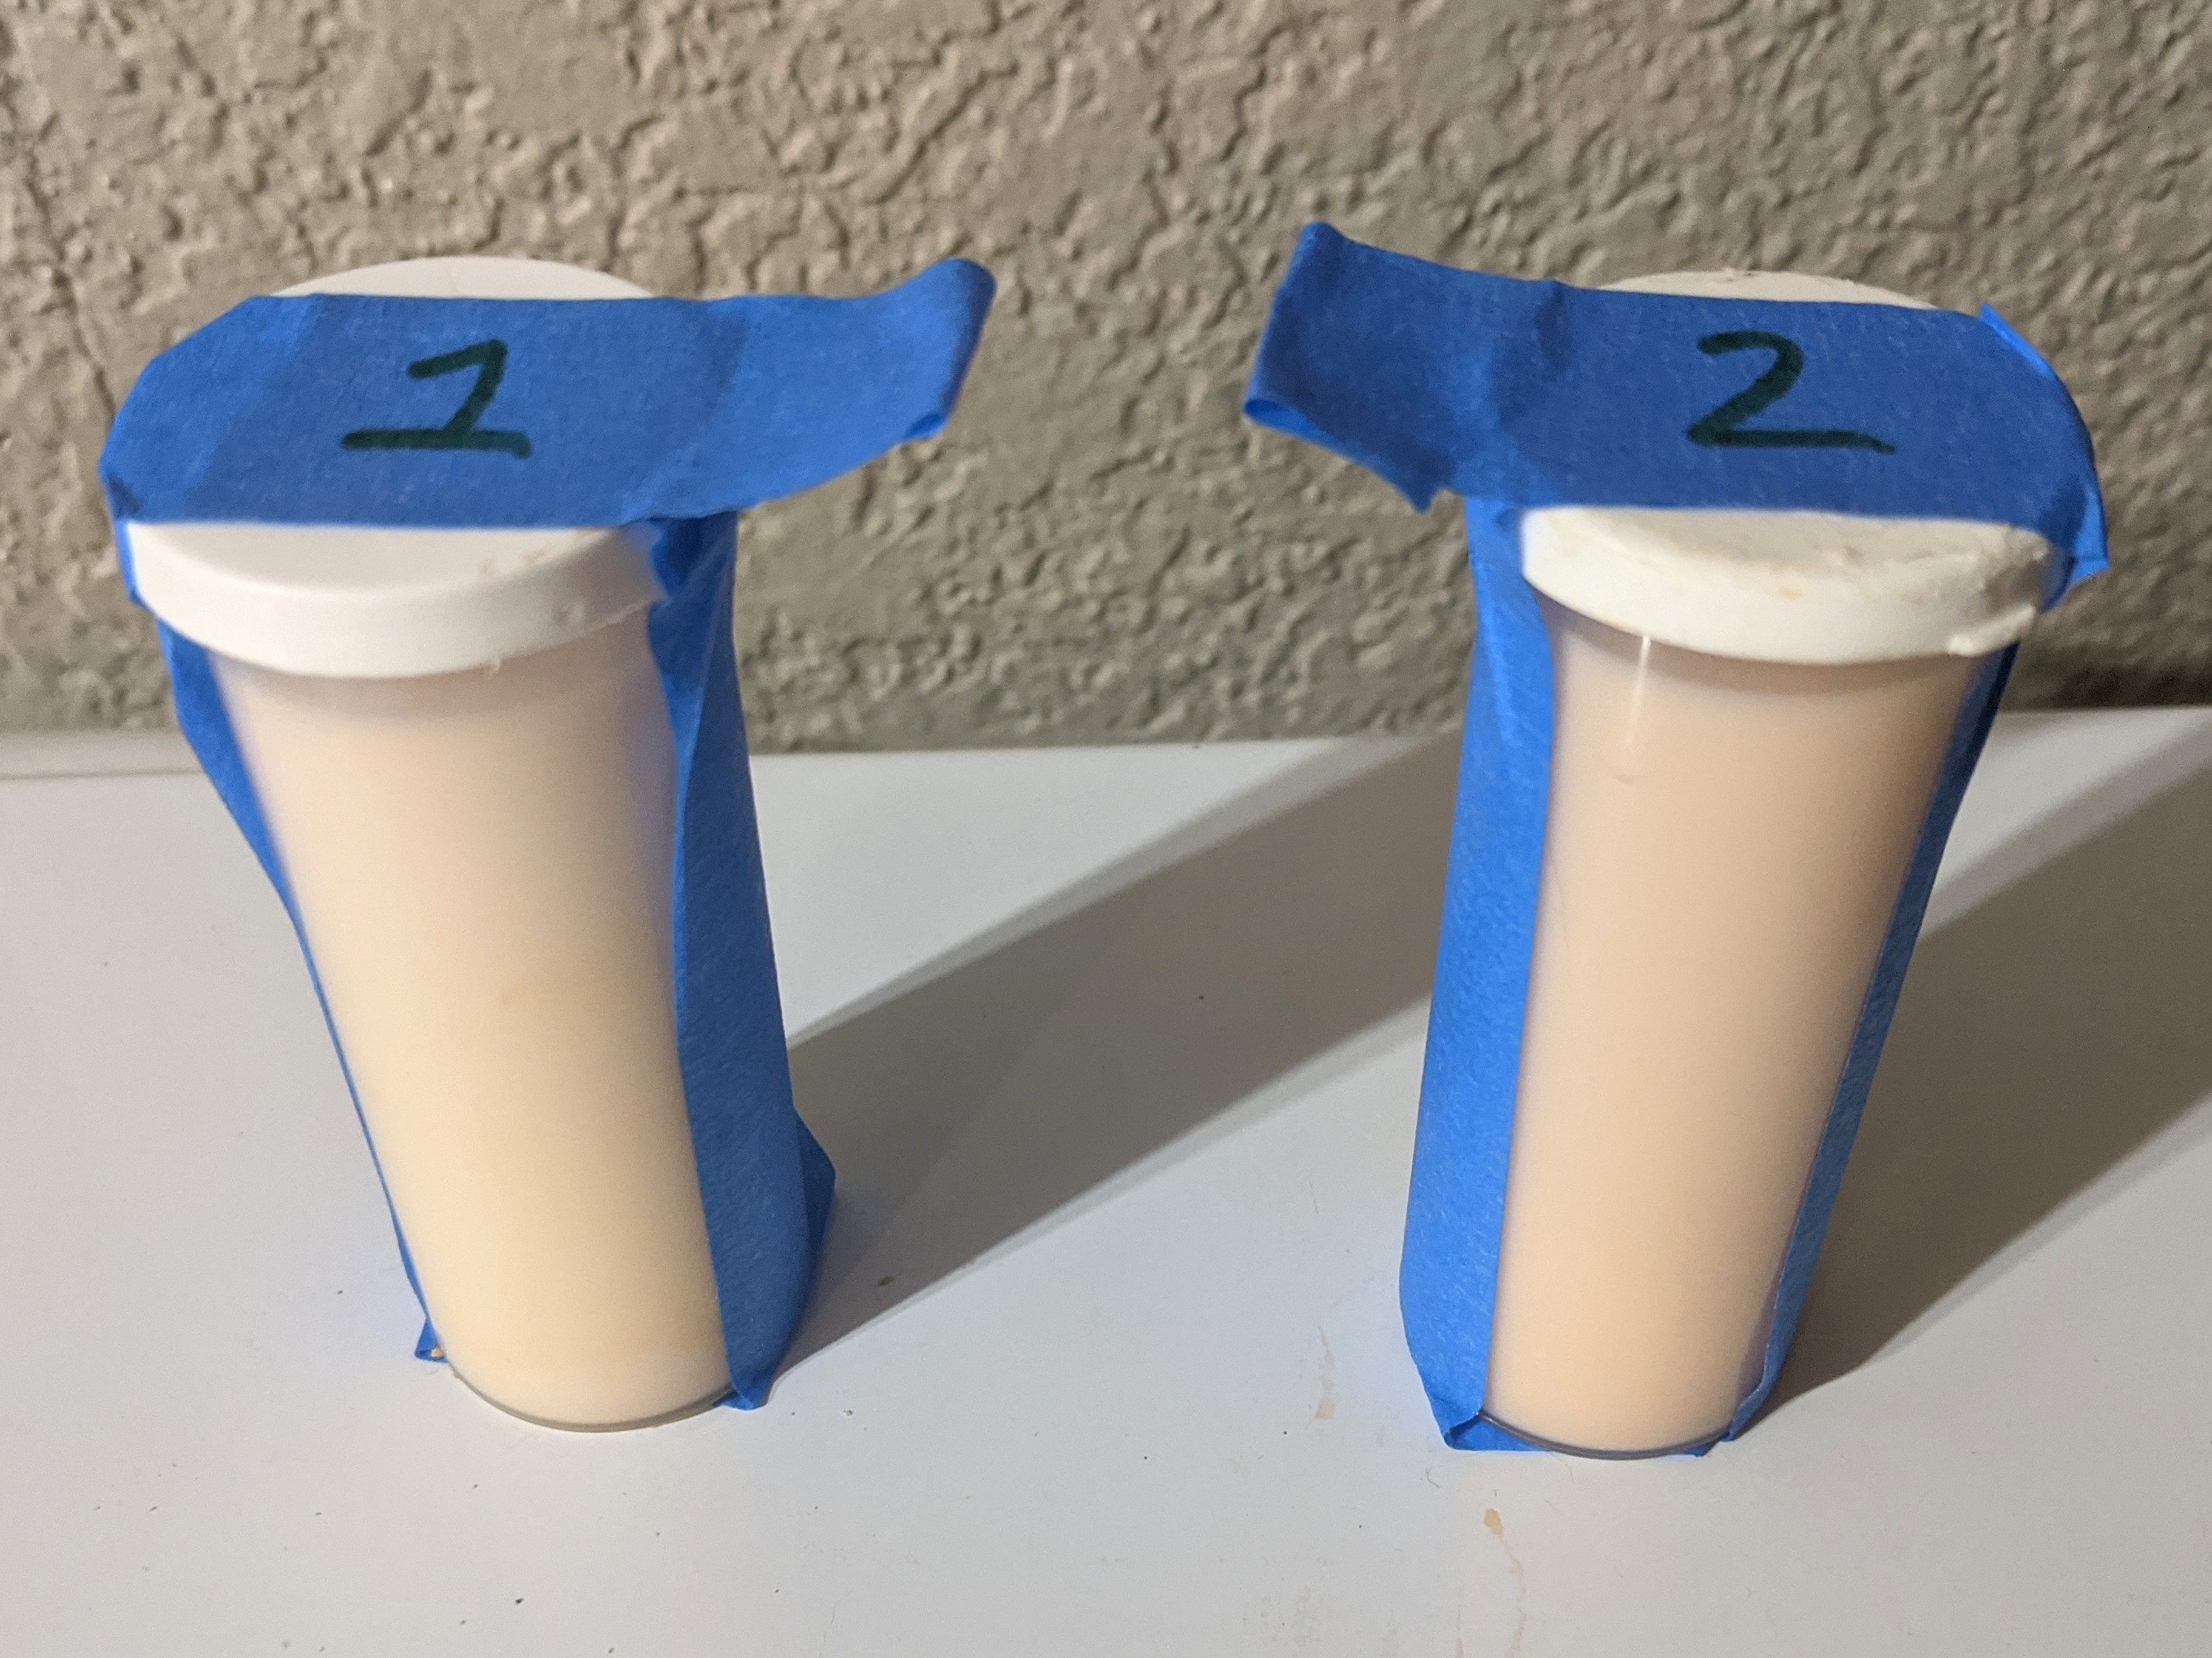
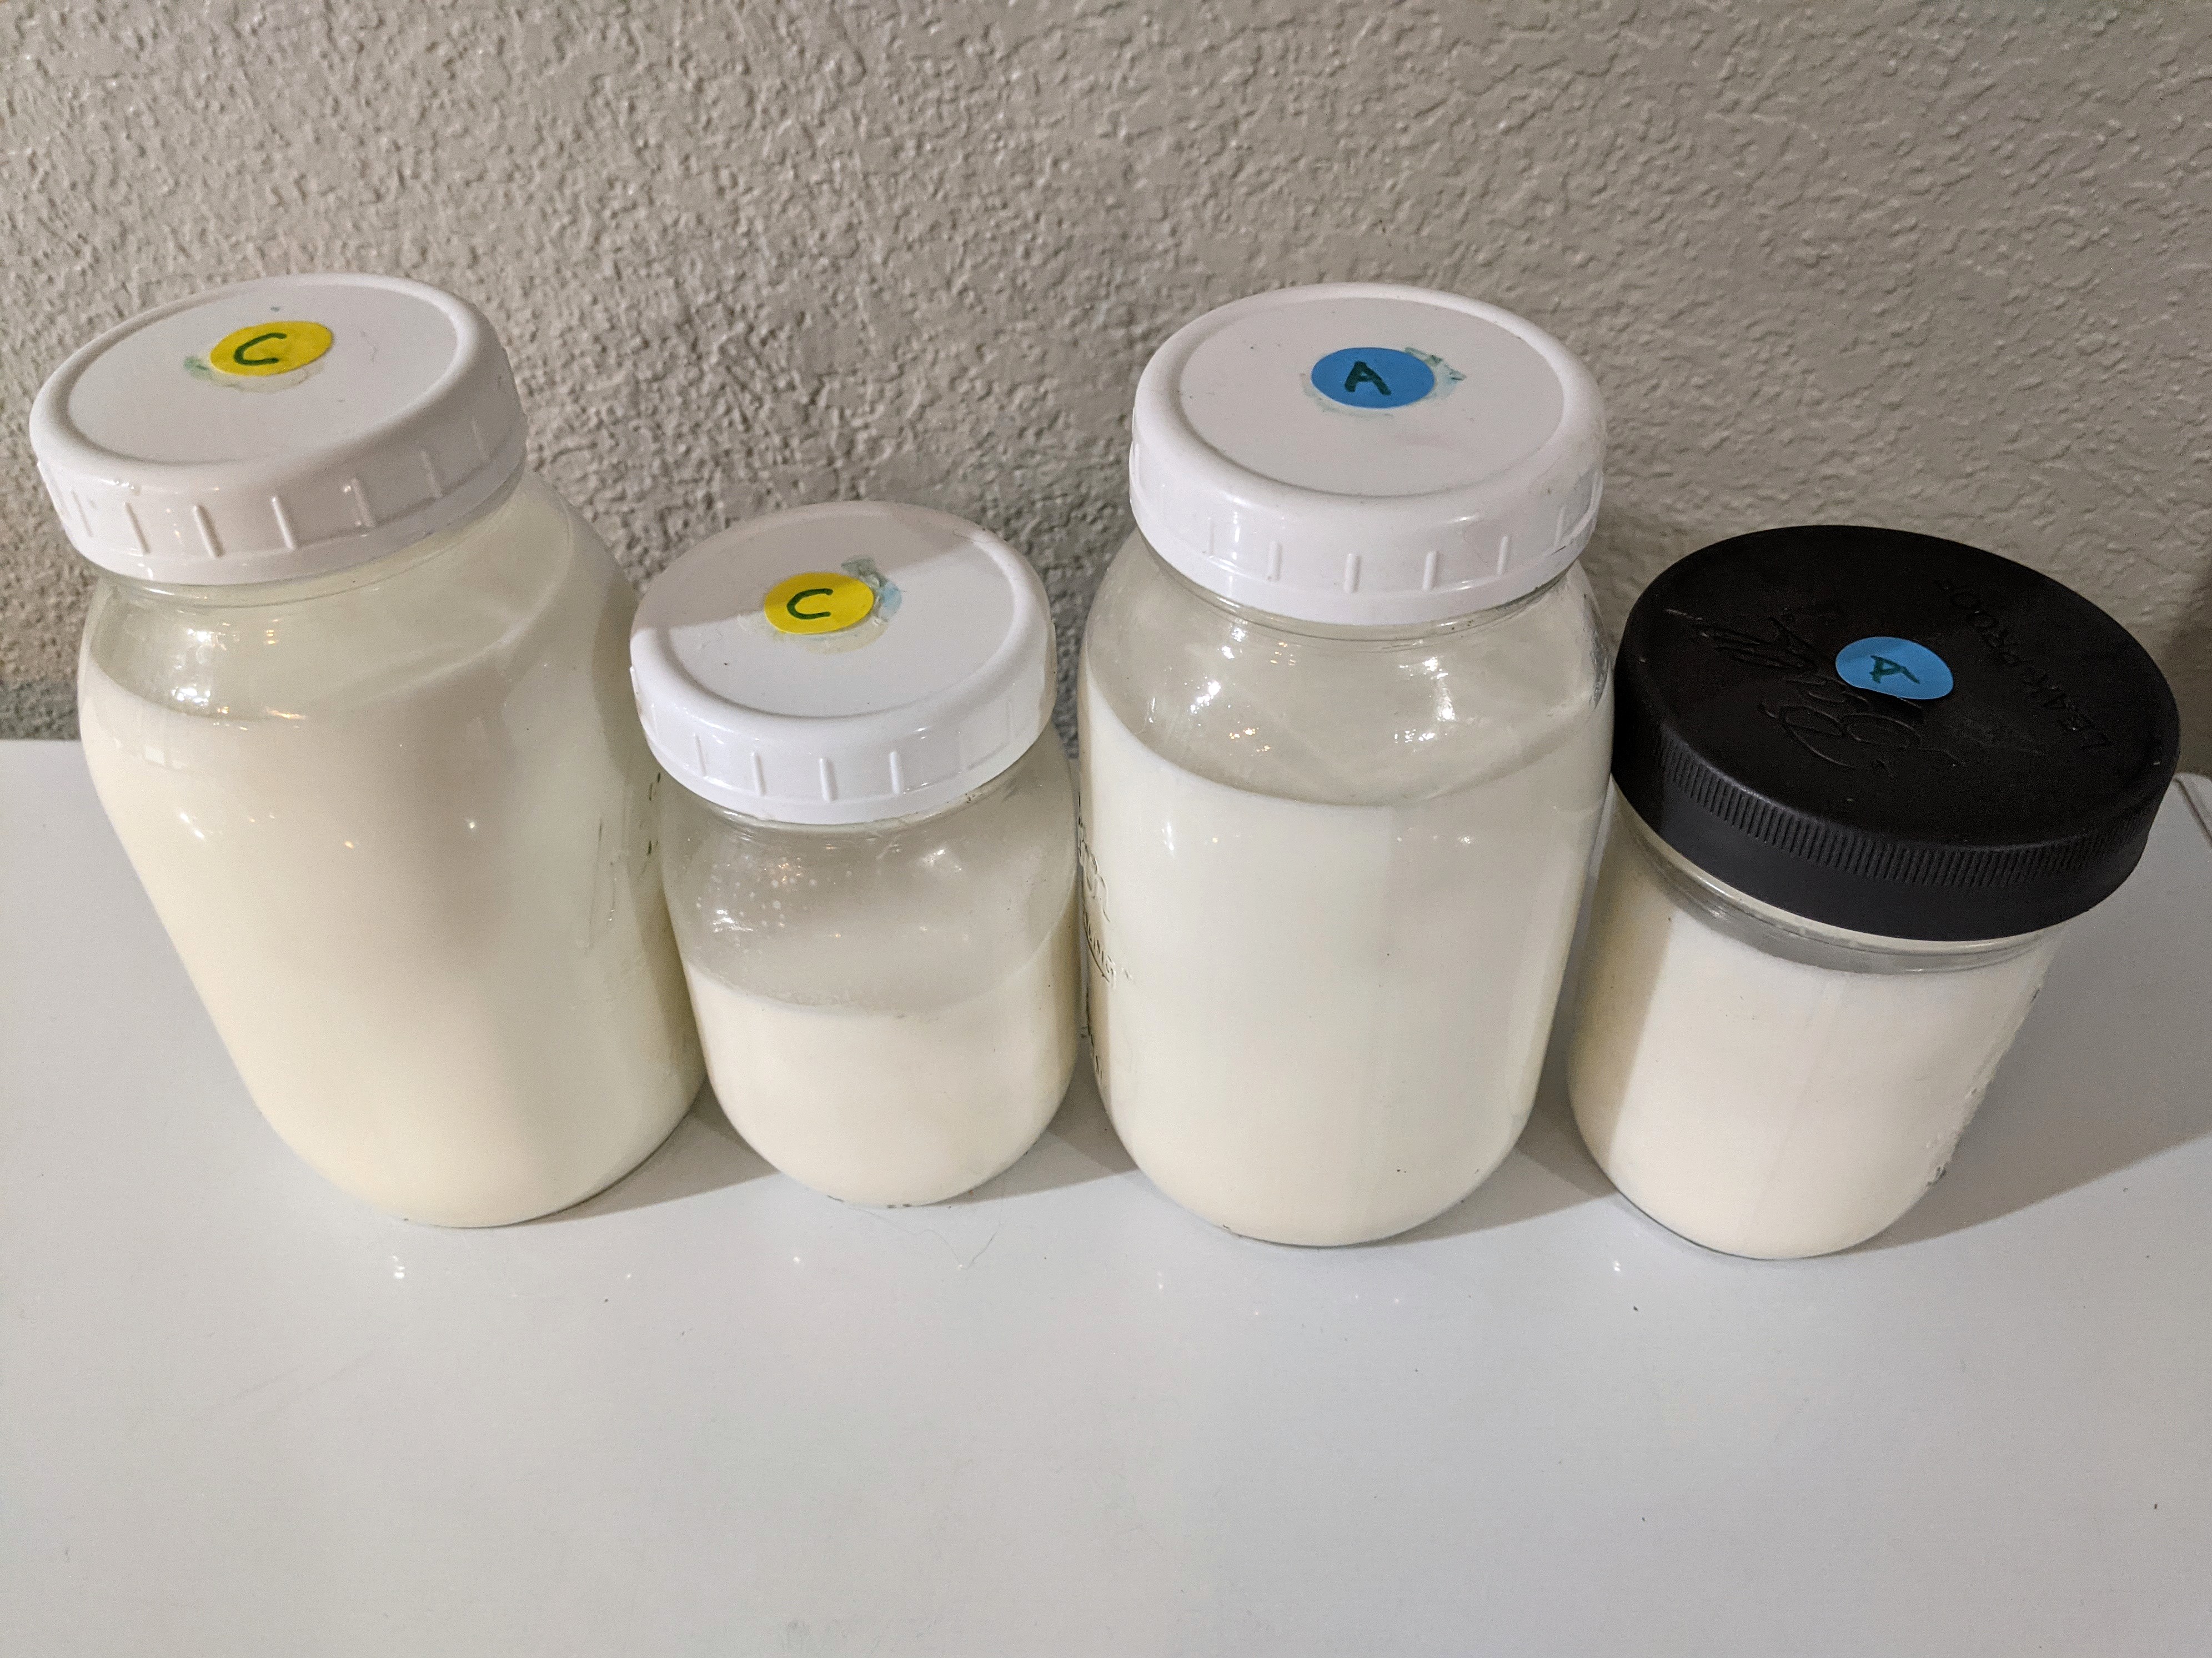
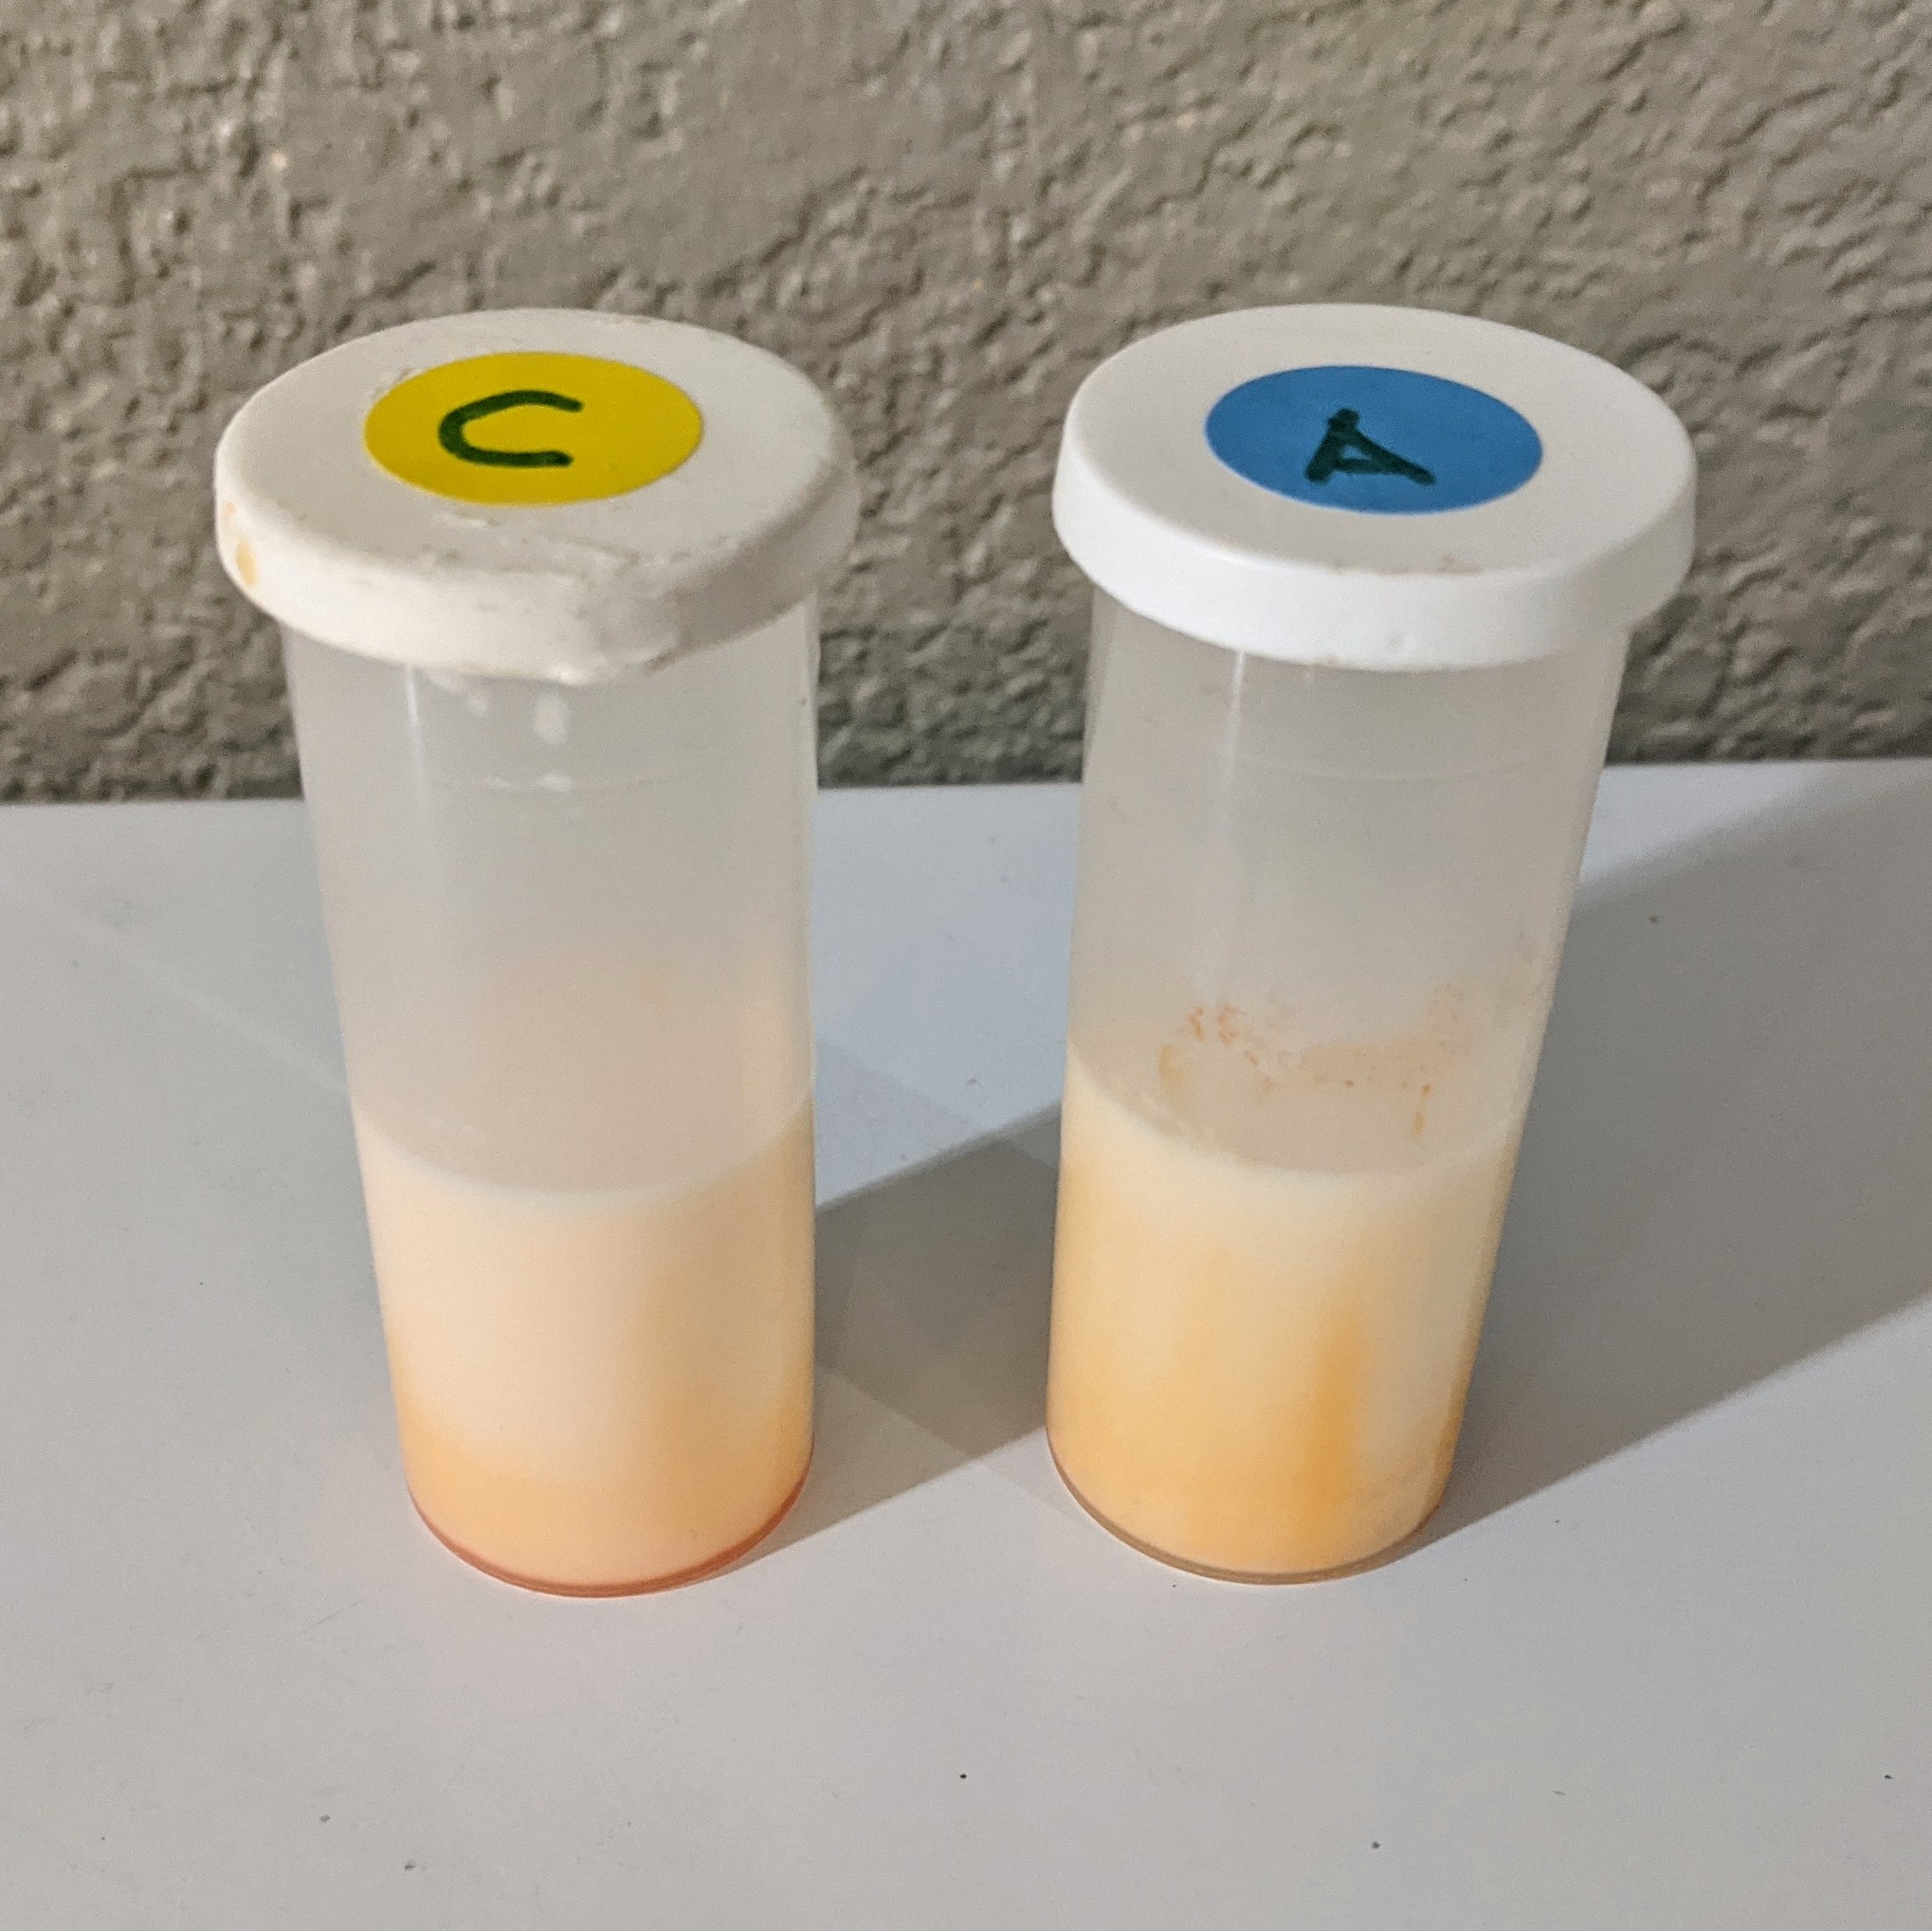
Sample Number: This is the number you write on the lid of the sample vial. UPDATE: WADHIA prefers the sample number to match the control number. I'll do this on my next test!
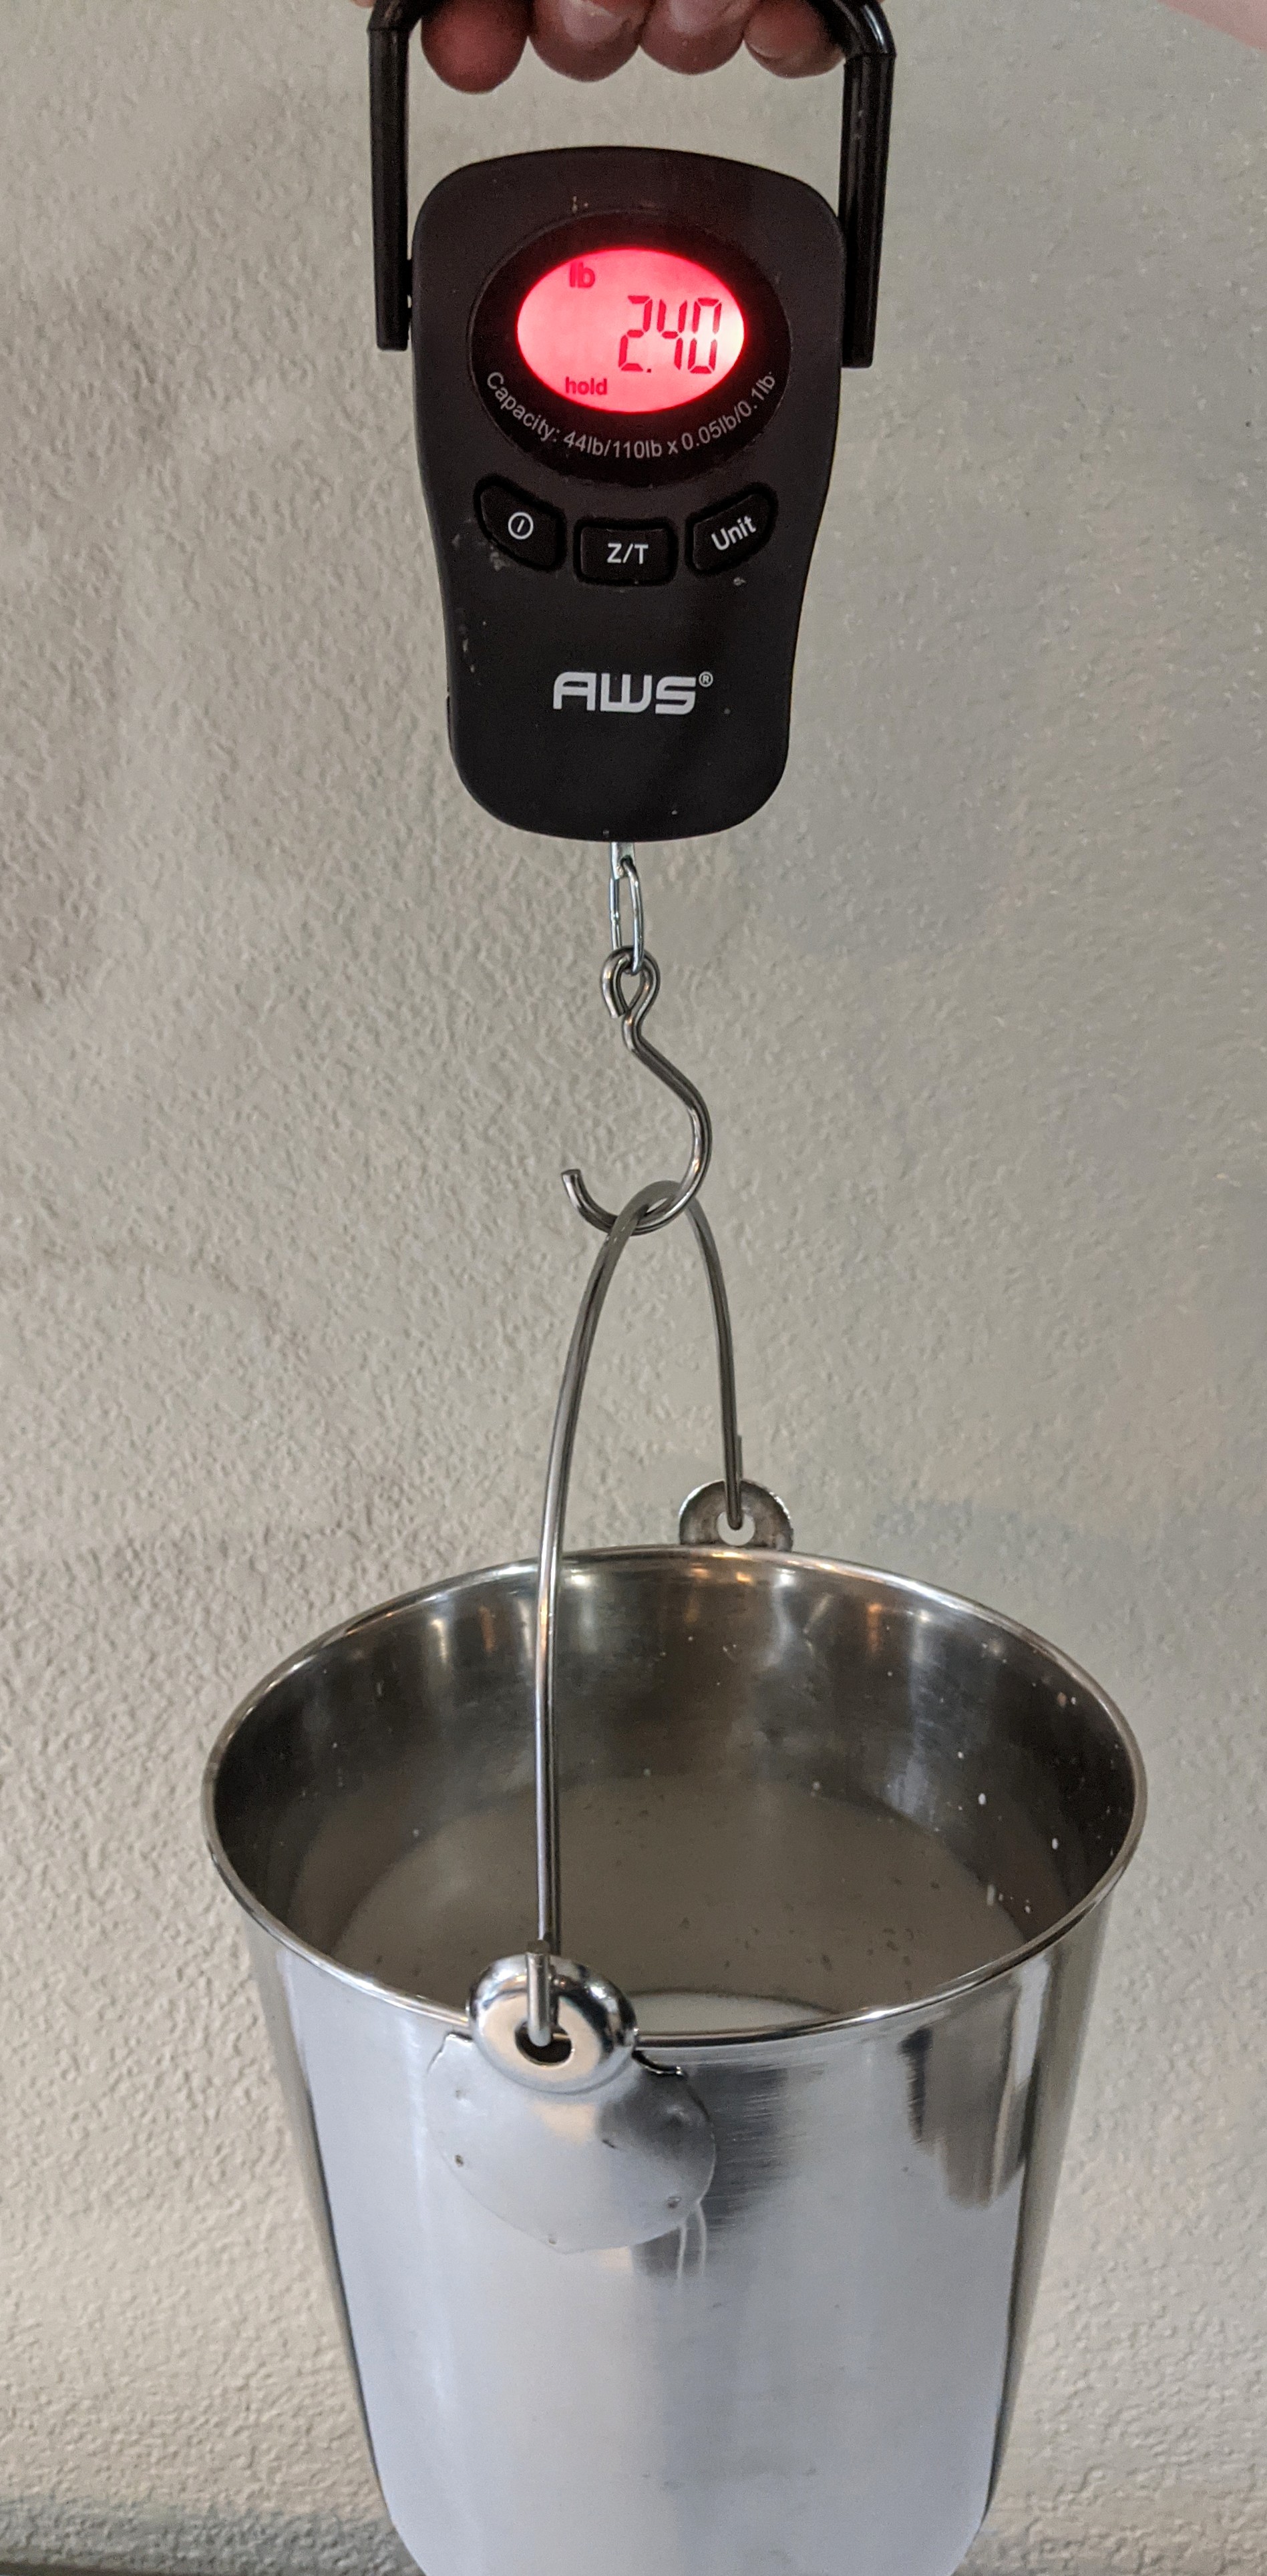
Milk weights: Milk weights to the tenth of a pound for your first and second milkings (am/pm doesn't matter) and the totals.